Final Session

Recap

Below is a very good summary video of what we have been learning

Her layout is slightly different but the general ideas are the same

She also talks about joining groups which we didn’t go through in class but see if you can follow her instructions and maybe try and join a group.

I’ve really enjoyed our sessions!

I hope to you see you all again soon!

Edel.

Final Session

Posting, Liking and Commenting

This week we will look at Posting, Liking and Commenting.

  • Learn how to Post
  • Learn how to Like, Comment on and Share what other’s have posted
  • Learn how to Post on another person’s page/Timeline
  • Learn how to Like a Page in order to follow it in your Newsfeed

Posting
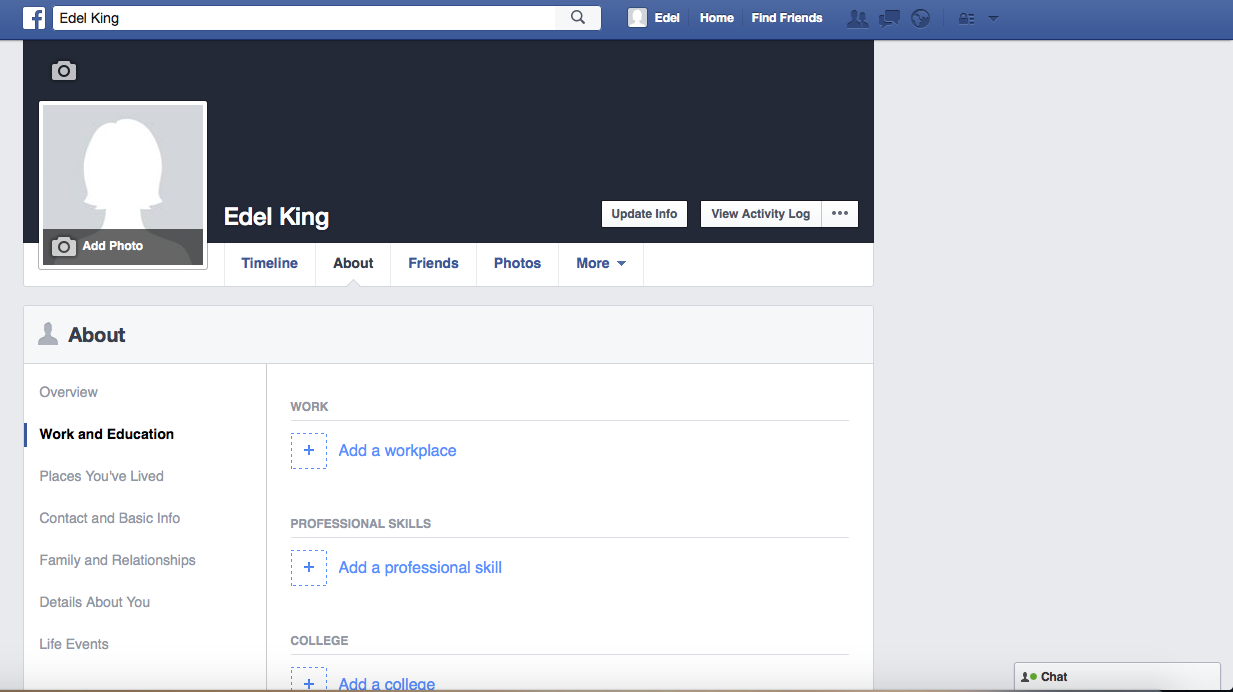
You might want to Post something yourself to your own page/Timeline.

This means typing a note onto your page/Timeline that people who visit your page/Timeline can read.

It tells people what you are doing, where you are, how you are feeling etc.

Posting

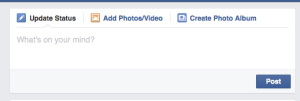
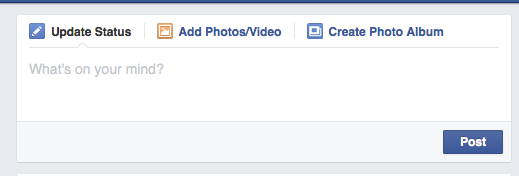
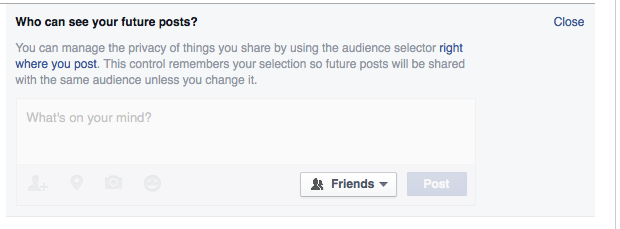
Type whatever you want into this box and Click Post

See Post

It will then be Posted on to your page – in others words it will appear as a Message on your page/Timeline for your friends to see when they visit your page/Timeline.

Status Update

More specific types of posts

Activities/Emotions
You might want to say in your Post that you are doing a certain thing or feeling a certain way.

Facebook has come up with a shortcut way of doing this.

Feeling:Doing

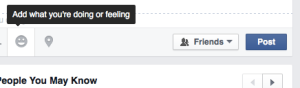
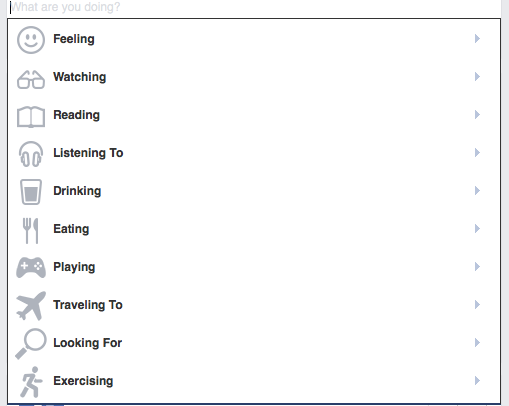
Click on the Smiley Face icon and it will bring up a list of activities and emotions for you to choose from.

Activity List

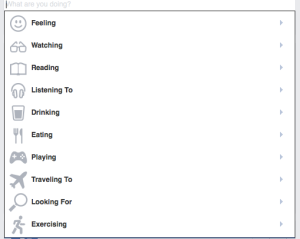
Click on one of these options and complete the sentence to add it to your Post.
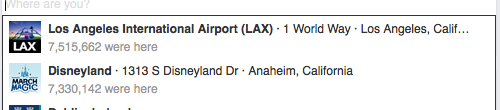
Places

You can also say that you are in a certain place when Posting.

For example you might be at the theatre and want to mention that in your Post.

Once again, Facebook provides you with a shortcut for this.

Add location

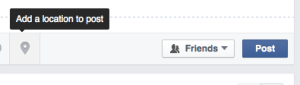
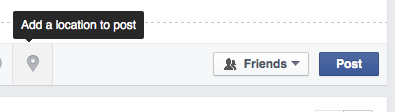
Click on the Indicator icon to bring up a search box.

Type in the place that you want to search for.

Click on the correct one from the list of options that appears to add it to your Post.
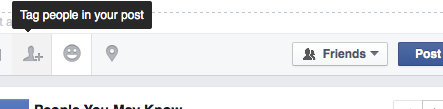
Locations

Tagging

Finally, you can Tag one of your friends in a Post.

This means that you can say that you are with them at the time of Posting.

Their name is then added to the Post and people can click on their name in the Post and go to their page/Timeline.

Tag People

Click on the Head icon to bring up a list of your friends

Choose who you want from that list or you can search for them in the box above the Head icon in order to add them to your Post.
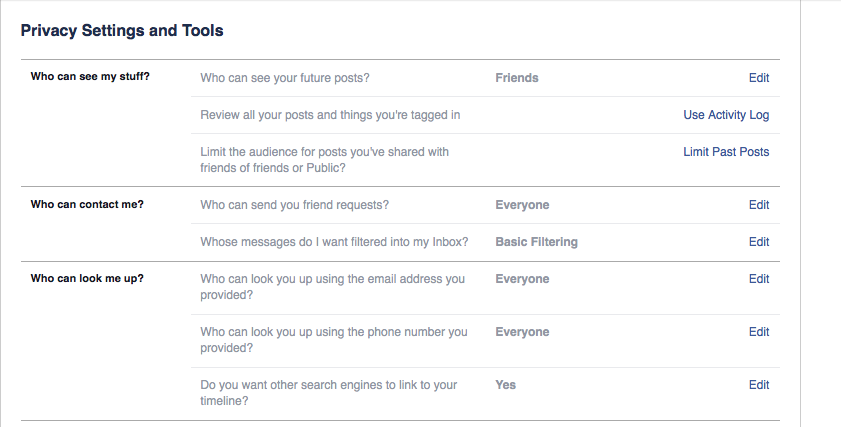
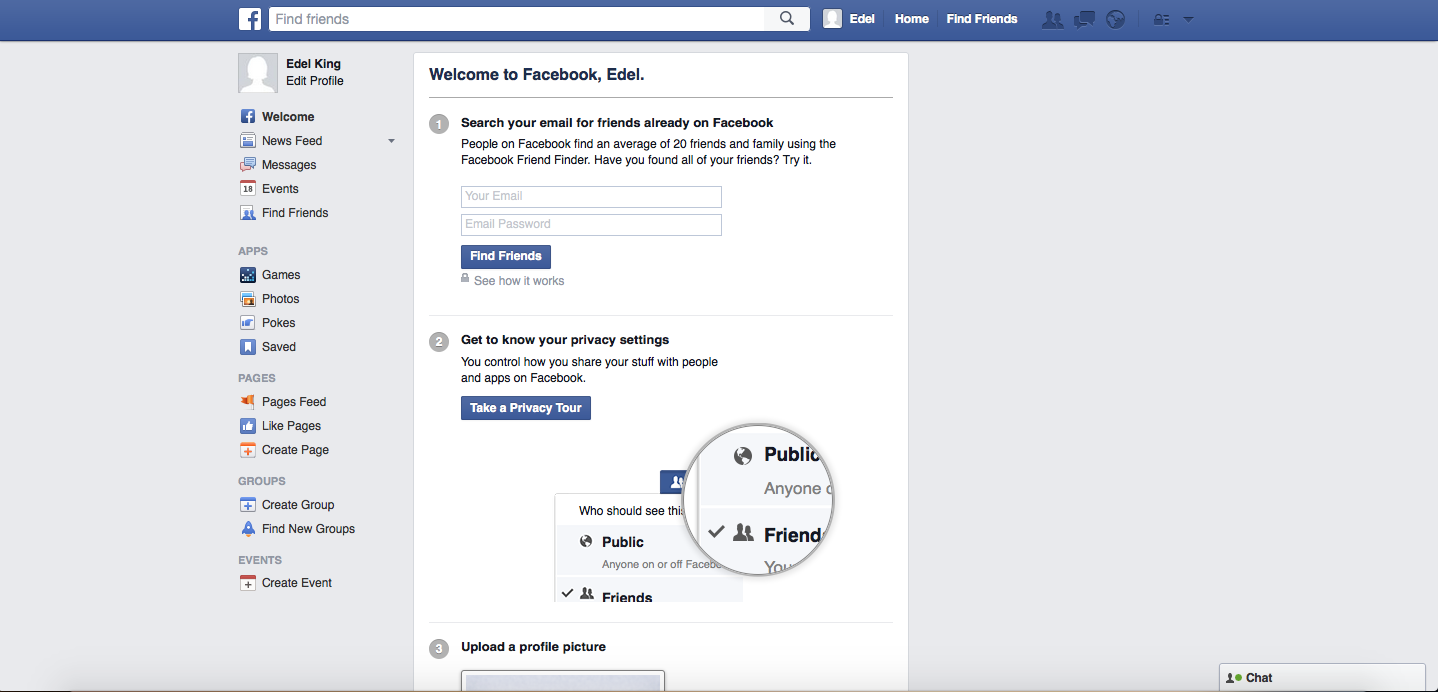
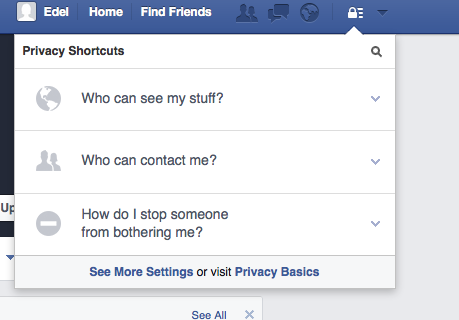
Privacy

You can also choose the Privacy levels for each Post.

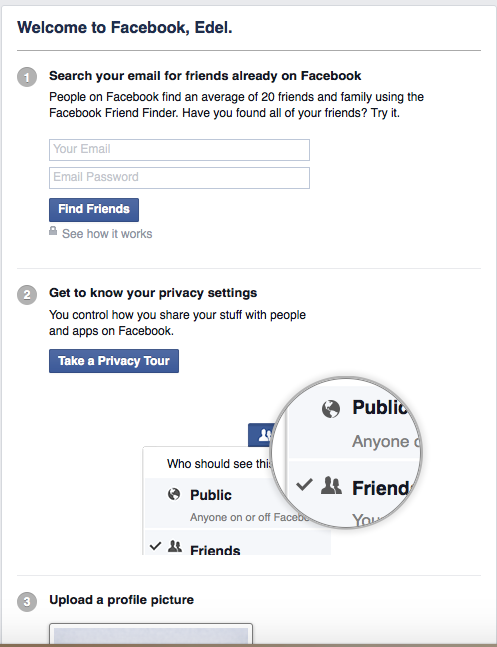
You can choose whether the Public, your Friends or Just You can see what you Post.

Click on where it says Friends in the above image to bring up a drop down menu of options.

Once again, I recommend that you pick Friends.

NOTE: All of this should be done BEFORE you click Post.

Exercise: Practise Posting, adding an activity/emotion or a location, Tagging a Friend and change the Privacy settings for each Post.

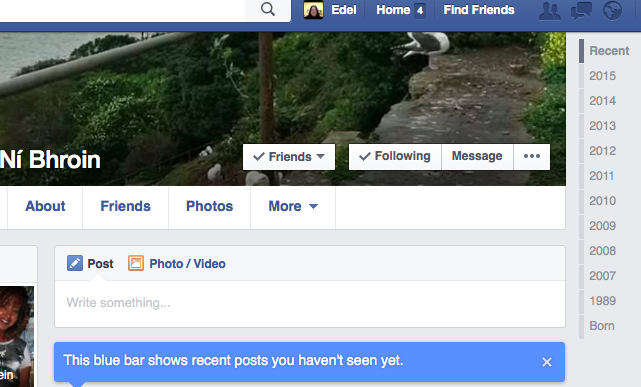
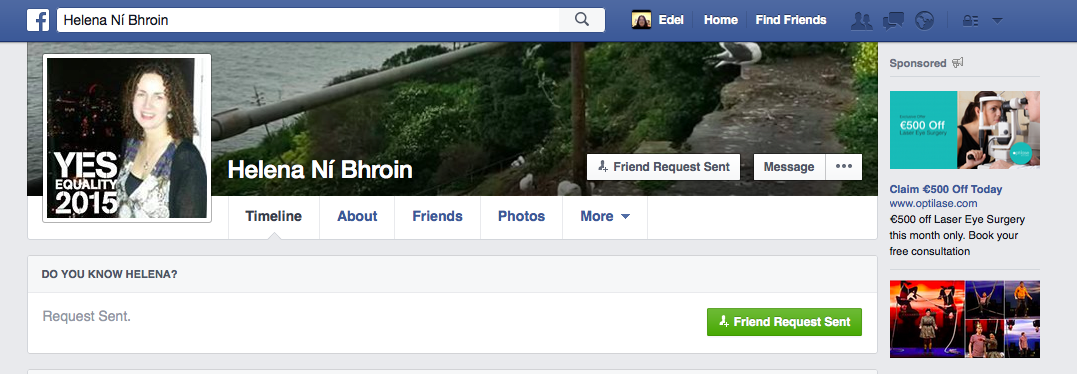
Posting on a Friend’s page/Timeline

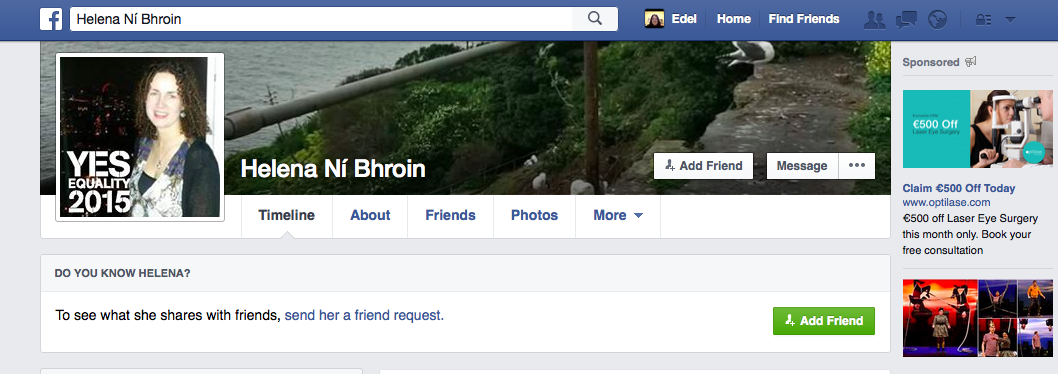
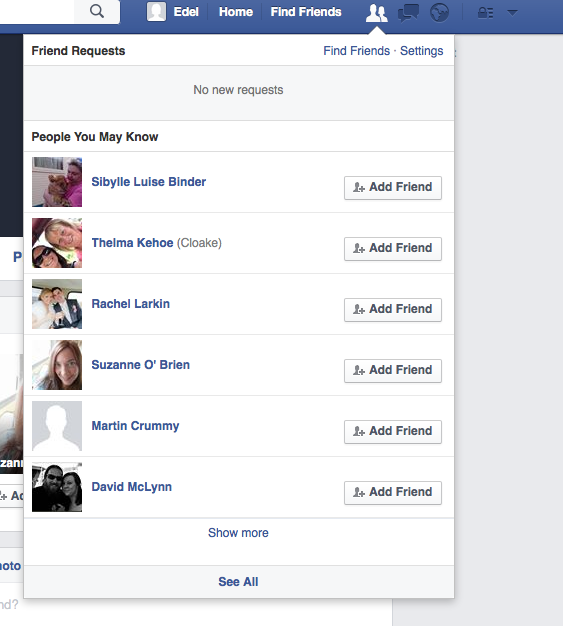
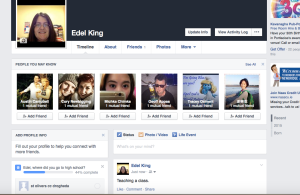
You can also Post on a Friend’s page/Timeline.

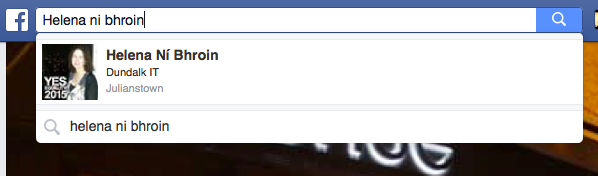
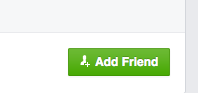
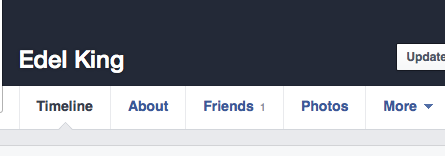
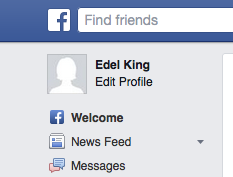
Choose a Friend by going to your page/Timeline and clicking on the Friends button near the top of the page.

You can also search for them as shown in a previous lesson.

Click on their name to go to their page/Timeline.

On a Friend's page

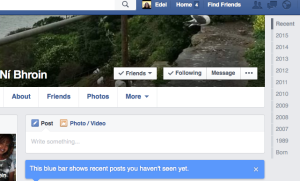
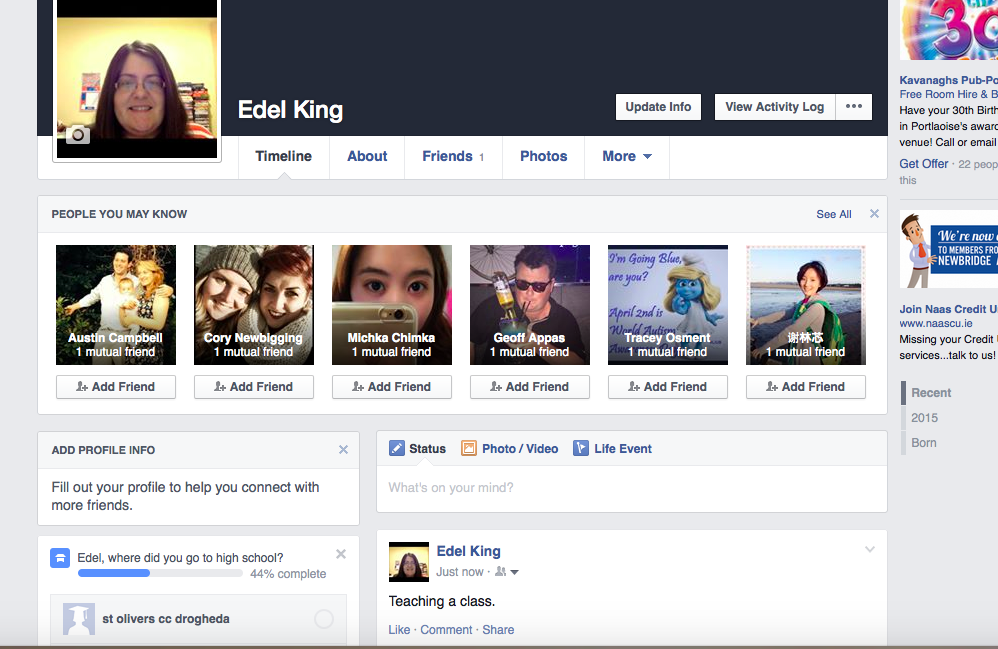
You can now Post a message to their Timeline/Wall by typing into the white box that says Write Something.

Posting to their page/Timeline can be seen by all of their Friends whereas sending them a Private Message will only be seen by them

Liking

You can go to a friend’s page/Timeline, read what they have posted and Like it.

This means clicking a button that says Like in order to show that you agree with what they have Posted, that you found it funny etc.

Basically to tell them that you Liked it!

To Like and Comment

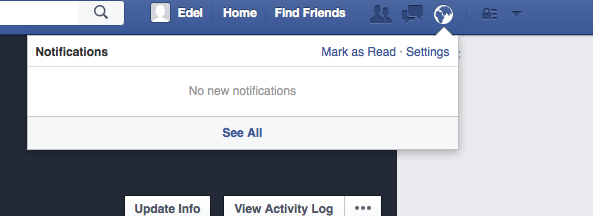
Click where it says Like and they will be Notified that you Liked what they Posted.

You will also be Notified and be able to see when someone likes what YOU Post.

You can see how many other people liked the Post and by clicking on the number, see who they are and go to their page/Timeline.
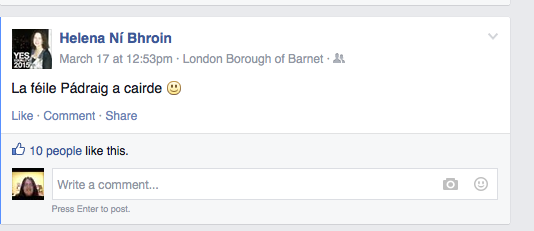
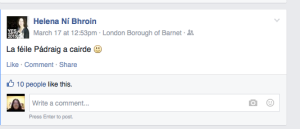
Commenting
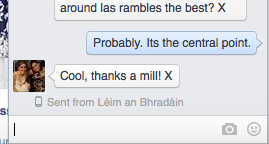
You can Comment on what someone has Posted.

Maybe they have Posted that they are at the airport and you want to tell them to have a nice time on their holiday.

To Like and Comment

Click in the box that says “Write A Comment”, type what you want and press Enter.

Your Comment will appear below their Post.

If someone else has Commented on the Post, you can also Like that Comment to show them that you Liked what they wrote.

Liking a comment

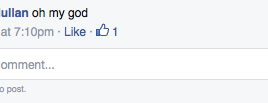
Click on the Like button that appears below their Comment.

They will be Notified that you Liked their Comment.

You can also see how many other people Liked the Comment, and by clicking on the number, see who they are and go to their page/Timeline.

In the above example, one person has Liked this Comment already.

To Like and Comment

Sharing

You can also Share what someone has Posted, which means putting what they have on their page/Timeline, onto your own page/Timeline.

To Like and Comment

Click the Share button to add the Post to your page/Timeline.
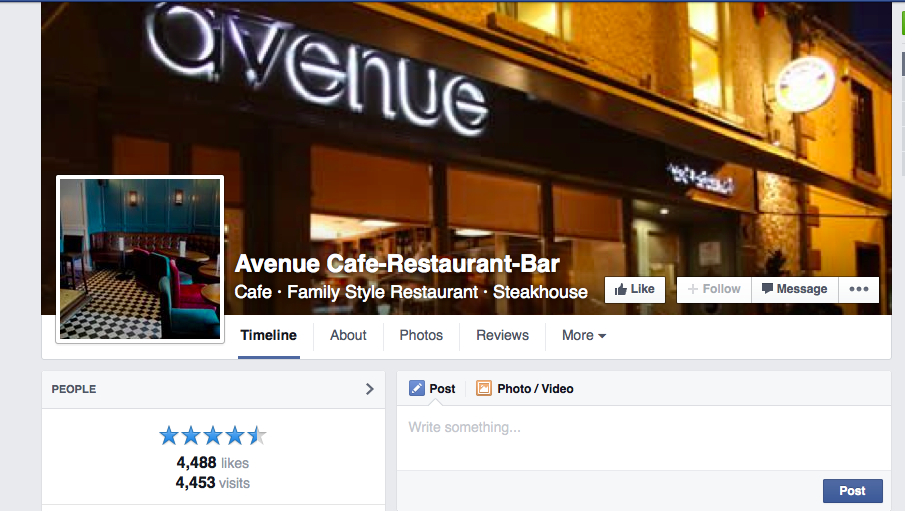
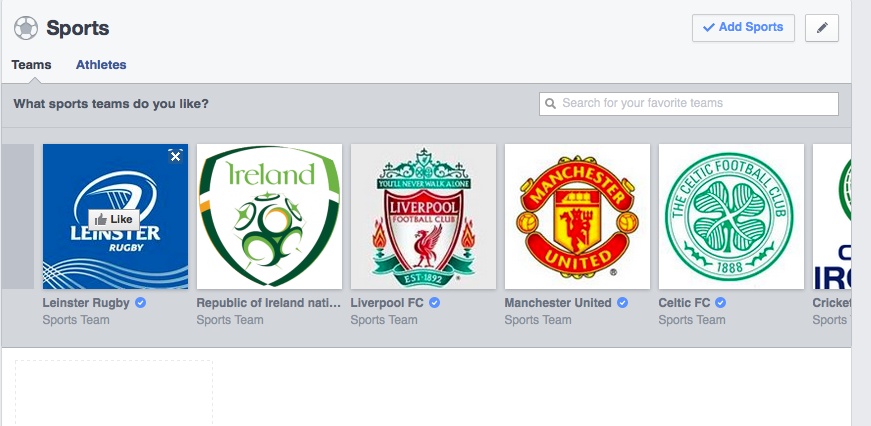
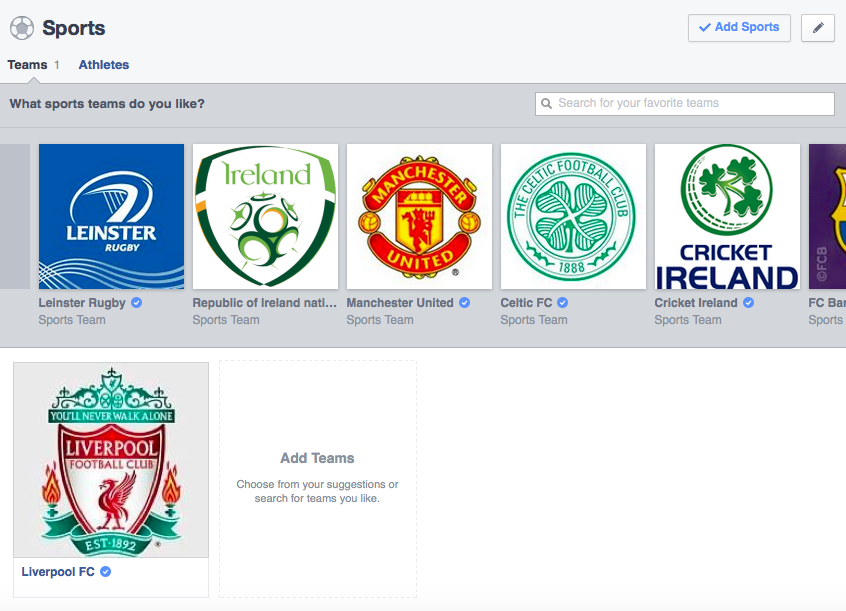
Liking a Page

Your Page is personal.

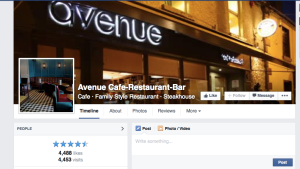
But some Pages are used for businesses or are fan pages for a famous person.

You can go to these Pages and click Like.

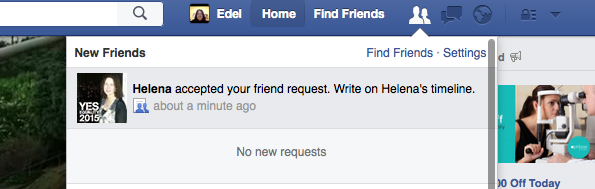
This is similar to a Friend Request – once you click Like on their page, updates from that Page will appear on your Newsfeed.

Search for the business or the fan page that you want in the search box in the Banner and press Enter.

Like a Business 1

Click on the relevant search result to go to that Page.

Like a Business 2

Click the Like button.

Updates from this page will now appear on your Newsfeed.

Exercise: Practise Posting as well as Liking and Commenting on Friends Posts.

Exercise: Look for a business or famous person that you have an interest in and Like their Page.

Next week

Final session.

Feedback and Assessment.

Don’t worry too much about the assessment. It will be very informal.

See you all next week!

Edel.

Posting, Liking and Commenting

Friends and Messenger

Welcome everybody,

This week we will learn about Finding Friends, Sending Friend Requests and Accepting or Declining Friend Requests Received.
We will also talk about Sending and Receiving Private Messages.

Friending

Interface 2
Type the name of someone that you know uses Facebook into the box pictured above and click on the magnifying glass to find them.
A list of people with that name will appear.

Click on the correct person

Friend Search
NOTE: Be careful that you have sent a Request to the correct person as more than one person with that name will likely be on Facebook.

Check where they live or look at their profile picture to see if you recognise them.

Once you have clicked on them, you will then be on their page/Timeline.
Click on the green Add Friend button.

Add Friend

Add Friend button

You will then be shown that your Friend Request has been sent to this person.

Friend Request Sent

They will be Notified about this Request and you will be Notified if they Accept.

Accepted Notification
If they Decline the Request, you will not be Notified.

Suggestions

As you Add Friends, Facebook may Suggest people you may know as potential Friends.

Suggestion

Simply Click where it says Add Friend to send them a Friend Request.

Requests Received
If someone sends you a Request you will be Notified via email and also within your Facebook page.

Friend Alert

Click here and you will see who sent the Request.

Request

You can now either Confirm or Delete the Request.

Accept

Clicking Confirm means you are now Friends with this person and can view their page/Timeline.

Accepted

You can also Confirm or Delete the Request in your email – similar process.

Facebook will send you an email saying that someone has sent you a Friend request and you can Confirm or Deny them.
You can see a list of your Friends by clicking the Friends button on your page/Timeline.

Friends List

Their page/Timeline will look similar to yours and you will able to view what they have Posted, Photos they have put up etc.

This is a good video detailing how to send a Friend Request

Messaging

Interface 8
Messages that you Receive will be displayed when you click on the Speech Bubbles icon and you will be able to click on them and read them.
You will then be able to Reply to the Message by clicking into the box underneath the Message, typing and clicking Send.

Messenger

You will be Notified of new Messages with a red box and the number of Messages inside it beside either the Messages icon or the Notifications icon (see below).

New Message

The video below provides an alternative way to Send a Private Message

She talks about having a business page – ignore this – the basic method of Sending a Message is there.

For next week

Become Friends with people from the class and other people you may know on Facebook.

Send them Private Messages and try and start a conversation where you Receive messages as well.

Next Week

Posting, Liking and Commenting.

See you next week!

Edel.

Friends and Messenger

The 2 P’s – Profile and Privacy

Hi all and congrats on getting this far!

This week (and next!) is all about setting up your Profile as well as some Privacy settings.

Firstly, Profile.

Log In to your Facebook account.

This is the Newsfeed page.

Click Edit Profile on the top left.

Edit Profile

The following page will appear

Home

This is your page/Timeline.

You are now ready to complete your profile.

Let’s break it down – What you can do to complete a profile

  • Upload a Profile Photo
  • Enter Personal Information
  • Display Interests and Likes

You can complete as many of these steps as you feel comfortable sharing.

Uploading a Profile Photo

Photo

Click Add Photo

Photo 2

Click Take Photo

Your laptop has an in-built camera.

Photo 3

Click Allow and Close if a pop-up box appears.

The camera is above the screen in the middle – you should see a dark circle.

Look directly at the circle above the screen and click Take Photo.

You will have a couple of seconds after clicking Take Photo before the photo is actually taken.

Photo 4
Your Photo will then be shown to you and you can choose to Retake or Save.

Photo 5

Once you have saved a Photo it will appear on your page/Timeline.

Photo 6

Adding a Cover Photo

This is a background Banner for your page and can be a picture of whatever you like.

Cover 1

Cover 2

3 sources for this Photo

Choose from My Photos – choose from a Photo already uploaded to Facebook
Add Synced Photo – upload a Photo from your phone or other device
Upload Photo – from your computer, not previously uploaded to Facebook
NOTE: We won’t be doing this in this class but you can email or speak to me if you wish to Upload a Cover Photo and are having difficulties.

Personal Information

Next is the Personal Information section.

Overview

You can click on any of the above and enter any relevant information that you might wish to share.

For example, General Information

General Basic

Click on any of the fields that you want to complete and type in the information.

Choose who you want to be able to see that information from the drop down menu.

You can choose from Public, Friends, or Just Me.

It will either be laid out like this

Example form 1

Or this

Example Form 2

Remember: Click Save Changes after you enter the information before moving on, otherwise the information will be lost.

Save Changes

You can fill in details on the following areas.

  • Work and Education
  • Places (you have lived, visitied etc)
  • Contact Information
  • Relationships (status with Friends on Facebook)
  • About You (anything else you want to share)
  • Life Events

It is entirely up to you how much information you share.

Likes and Interests

You can provide information on things you like or are interested in.

The following areas are there to guide you –

  • Sports
  • Music
  • TV
  • Books
  • General

The Sports example is below – all of the others are laid out similarly –

Sports

If you see what you want from the options given, you can click on it, it will appear in the box below and will have been added to your list of Likes.

Sports Liked

If you do not see what you want, you can search for it in the search box and then click on it

Like Search

When you are finished you can click Update Information (top right of the page) and then all of your Likes and Interests will be visible on your page/Timeline.

Update Info

Below is a good run through of everything we have done so far

Privacy Settings

Click on the Lock icon on the right in the Banner

Privacy 1

Click See More Settings

Privacy 2

Click Edit for whatever you want to change

Privacy 3

Choose the levels of Privacy you want from the drop down menus and click Close.

I would recommend that you pick the Friends option which means that only people you are Friends with can see your stuff

Follow these steps for whatever you want to change.

Here is a good video guiding you through the Privacy settings – please don’t be offended by the title!

Before next week

Play around with your Profile information, Photo, Likes, Interests and Privacy settings until your account is set up as you like.

Next week

Friending and Messenger.

See you next week!

Edel.

The 2 P’s – Profile and Privacy

Getting to know you-r Interface

Hi everyone!

This week we will look at the Interface of your account.

Interface – what you see on the screen

Firstly, Log in to your Facebook account.

Type http://www.facebook.com into the address bar and press Enter.

Facebook Homepage

Log in at the top right using the details you provided last class to set up the account.

Log in

You will then see this page or a page that looks similar.

Interface 1
This is the page that will greet you every time you Log In.
This is called your Newsfeed.
It will start to look different as you Post and become Friends with people because what they Post, Like and Comment on will be displayed here.
But the general layout of this page will be the same.

Breaking the page down

Look at the top, at the blue strip.

Interface 2
This is called the Banner and it will always be in the same place regardless of where you go in Facebook.
You can use it to search for people, to go to your own page/Timeline or your Newsfeed page, to check Messages, Notifications, change Privacy settings and Log Out.
NOTE: Notifications are Messages that inform you when one of your Friends has Liked something or Commented on something that you have Posted. It also informs you about Friend Requests that you have sent and when they are accepted or that you have received from others.

Search Bar

Finding Friends and Liking a page will be discussed in later sessions but this is where you would start your search

Next are these 3 buttons on the Banner

Interface 12

Click on <your name> to go to your own page/Timeline where what you Post can be viewed by your Friends.
Click Home to go to your Newsfeed page.
For this class, ignore Find Friends.

Next are these icons to the right of the search box

Icons

Clicking the Two Heads icon allows you to see who has Requested to be your Friend, who has accepted your request and who you might know and might want to be Friends with based on your current friends.

Interface 7

Clicking on the Speech Bubbles icon allows you to see any Private Messages that you might have received.
We will go into more detail about Sending and Receiving Private Messages in a later session.

Interface 8

Clicking the Globe icon Notifies you about activity for example someone Liking or Commenting on what you Posted or Friend Requests. Notifications will also be emailed to you.

Interface 9

Clicking the Lock icon allows you to change your Privacy settings.

Interface 10

We will look at changing your Privacy settings in a later session.

Interface 4

Clicking on an item in this box allows you to move to various parts of your page.
Edit Profile, Messages, pages you Like, events you have been invited to or are attending can all be accessed from this box.

Interface 5

This is the main body of your Newsfeed.

At the moment it is asking you to create a Profile.

Once you have completed a Profile and Added Friends, this page will become a proper Newsfeed.

Remember!

Newsfeed – a continuously updating screen containing material that your friends put on their page

Clicking Home will bring you to your Newsfeed.

Click on <your name>

Interface 13

This is your page – also known as your Timeline.

This is what others will see when they click on your name.

What you post will be displayed here in chronological order.

Below is a very good video on the basics of the Interface

For next week

Familiarise yourself with the Interface.

Next week

we will look at Profile and Privacy settings.

See you then!

Edel.

Getting to know you-r Interface

Let’s Get Started!!

Welcome back everyone!

This week’s blog will guide you through all the steps needed to set up a Facebook account.

Step 1 – Navigate to the Facebook homepage
Open up the Internet
In the address bar type http://www.facebook.com
Click Enter
You should be at the page pictured below

Facebook Homepage

Step 2 – Fill in the Sign Up sheet
Under the words Sign Up, on the right hand side, there are boxes
Click into a box and type in the relevant material/click on the appropriate option in the drop down menus/click the appropriate button
Click into the next box and repeat these steps until all of the necessary information is provided
Choose a password that you will easily remember – the most secure passwords contain both letters and numbers
Maybe make a note somewhere of the password you pick
Click the green button that says Sign Up
It might take a minute or two for sign up to complete

Sign up sheet

NOTE:
Remember your email addresses from the previous sessions?
This should be the email address that you enter into the relevant box
You will need to open a new tab in your browser and log in to your email to access confirmation emails sent by Facebook
I have a record of all of your email details

Step 3
The page that appears will have a message at the top that asks you to check your email to confirm Sign Up

Confirm email notification

Sign in to your email
There should be an email there from Facebook asking you to click a link to complete Sign Up

Confirm email

Step 4 – Confirm

Click on the words Confirm your Account

This will open a new tab with your account on it – work from this tab now

Your account is now set up and ready to go – Click Okay

Confirmation

You will receive a follow up email from Facebook welcoming you. You don’t have to do anything with this message

Introductory email

Step 5 – Familiarise

Familiarise yourself with the interface of your new Facebook page, clicking on things to discover what they do

Don’t worry about breaking it or doing anything wrong at this stage

Here is a short video that brings you through the process one more time –

Step 6 – Logging In and Out
Practice Logging In and Out of your account
On the homepage, top right, there should be a downward facing arrow
Click on this arrow and a drop down menu should appear
From the list in the dropdown menu, click on Log Out
This should bring you back to the original Facebook homepage from the beginning of the lesson

Logging out 1

Logging out 2

Logging out 3
Log in

Practise doing this a couple of times until you are comfortable with it.

For next week

Practise Logging In and Out and familiarise yourself with your Facebook page and how it looks.

As always you can email me with any problems, issues or queries that you might have – edel.king@ucdconnect.ie

Next week

We will look at the Interface in more detail.

See you next week!

Edel.

Let’s Get Started!!

Hello and Welcome

Hi everybody and welcome to the blog,

This blog is to be used as a tie-in with the IS40480 Introduction to Facebook classes. Each entry will have notes from the class, step by step guides with screencaps, videos and a couple of extra hints and tips to help you on your way.

This post, linked to our first session will introduce you to Facebook, what it is, what you can do with it and how.

Firstly, let me introduce myself…

My name is Edel King, I am assistant librarian here at IS40480 Library.
My contact phone number is 0879843464
My email address is edel.king@ucdconnect.ie

Feel free to contact me at any time with any query you might have related to the lessons.

I have no office hours, I am available to help you whenever you need it for whatever you need, whether big or small. It might seem like a cliche but for me, there is no such thing as a stupid question.

I’m sure you want to know a bit about the format and structure of the class.

The classes will take place every Tuesday from 10 to 12,  in an informal environment. The notes for each week will be handed out in paper form and we will go through them together using a slide presentation on Keynote.

I will guide you through what you need to do. It will be a hands-on course, with you trying things out for yourself calling out to me, should you need assistance. Some classes will also have a seminar style part to them where you will be given different role play scenarios to go through to get practice at the various things taught in class.

There will be 8 sessions in total:

Week 1 – Introduction to Facebook
Week 2 – Setting up a Facebook account.
Week 3 – Getting to know your Interface
Week 4 – Profile and Privacy settings
Week 5 – Profile and Privacy settings continued
Week 6 – Friending and Messenger
Week 7 – Posting, Liking and Commenting
Week 8 – Assessment and Feedback

However, this is very flexible and should something occur to you that you wish to be taught, please feel free to mention it in class and time will be put aside for that to take precedence in the curriculum.

The class can make use of a tailor-made Facebook page which will have links to that week’s blog post, videos and other bits and pieces that I think might be of help to you.

The Facebook page can be accessed at: http://www.facebook.com/is40480computers

Assessment will take place during the final session. Each student will be given a scenario and they will have to talk the class through how they would go about fulfilling their role.

Don’t worry about it – it’s a long way off yet and it will be quite informal.

These scenarios will then be informally graded and students will receive a certificate upon completion of the course.

Let’s get started!

Some background and facts about Facebook:
Facebook was created by Mark Zuckerburg while he was studying Psychology in Harvard University in 2004.
It wasn’t the first time he created a computer programme while attending the University.
It is a social networking site that was initially only available in academic institutions but now has over 1 billion users worldwide.
Fun Fact – the average person spends about 20 minutes on Facebook per visit.

What do you think Facebook can be used for?

Facebook can be used to
Connect with friends
Read what your friends are posting (or putting on to their page) and like it or comment on it
Post own status updates
Chat to friends using Facebook Messenger

To start with, have a look at the Facebook homepage – http://www.facebook.com and familiarise yourself with how it looks. See if you can figure out how to sign up for an account.

Facebook Homepage

Don’t worry if you can’t – this is just to start you off – you will be guided through the process in full at the next session.

Some Lingo:

While using Facebook you will come across some words and phrases that will be unfamiliar to you in the Facebook context that they are meant – but don’t worry,
they will soon become second nature – words like:

Timeline – your own page where your stuff will appear
Newsfeed – a continuously updating screen containing material that your friends put on their page
Post – to put something on your page
Like – a button you can press under what someone else has Posted to tell them that you have enjoyed reading it
Comment – to write a reply under what someone else has Posted in answer to it
Interface – the page that is in front of you and how it looks, how it is laid out etc.
Messenger – a place to send Private Messages to an individual Friend. These Messages can only be seen by you and them. This is different to Posting on your own or another person’s page/Timeline which can be seen by all of your/their Friends
Status – Posting what you are doing, how you are feeling or anything else that you might want to say on your page/Timeline

Finally, if you have any concerns or questions before next week’s class, do let me know.

Below is a good documentary about the founder of Facebook Mark Zuckerberg – no obligation to watch – just might be of interest to some of you!!

For next week

Have a think about what you would like to learn.

Next week

We will be setting up your account.

See you next time!

Edel.

Hello and Welcome